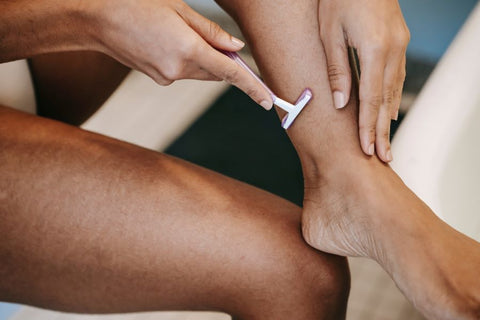
When it comes to achieving a smooth, close shave, the choice of shaving product can make all the difference. Shaving gel and shaving cream are the two main contenders, but which one actually delivers the closest shave?
Let’s break it down so you can decide which one deserves a spot in your shaving routine.
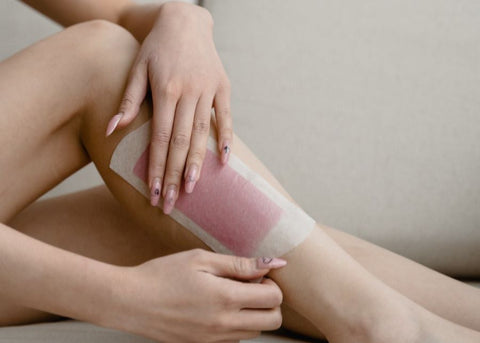
Does Shaving Gel or Cream Provide Closer Shave?
So you’re trying to decide between shaving cream and shaving gel. Which one’s really going to leave your skin feeling super soft and silky? Both shaving gel and cream have their pros and cons.
Shaving gel is a great option for those with sensitive skin or anyone looking for a more precise shave. It typically creates a thin layer that allows you to see where you’re shaving, making it easier to avoid nicks and cuts. Gel also tends to provide a smoother glide, reducing irritation. However, some gels can feel a bit drying, especially if your skin tends to be on the drier side.
On the other hand, shaving cream offers a rich, moisturizing lather that helps to soften hair and protect your skin from friction. This makes it ideal for those with dry or sensitive skin. Creams generally provide a more hydrating shave, leaving your skin feeling nourished and smooth. The downside? It may not be as easy to see where you’re shaving compared to gel.
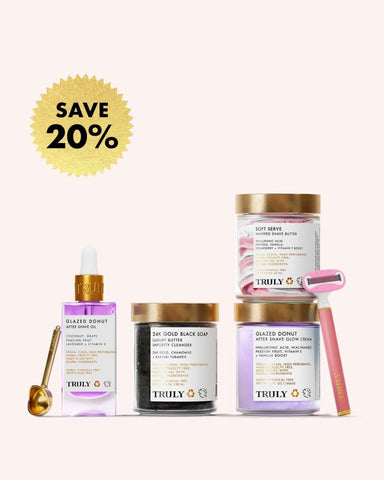
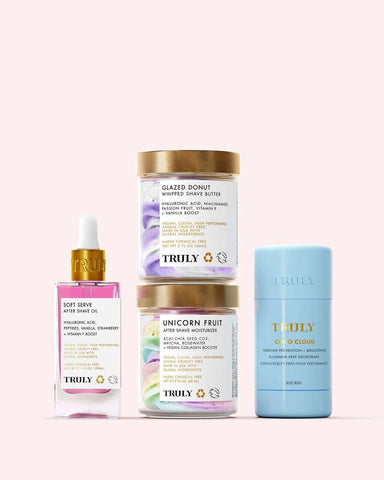
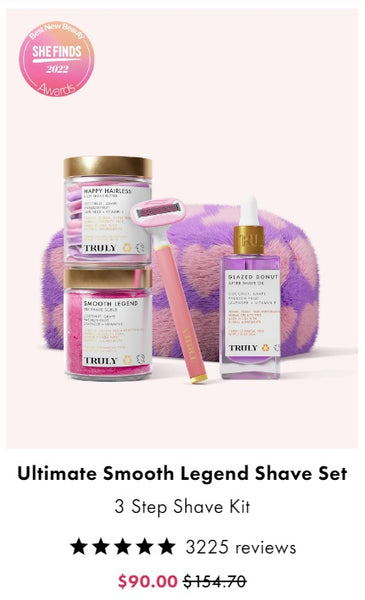
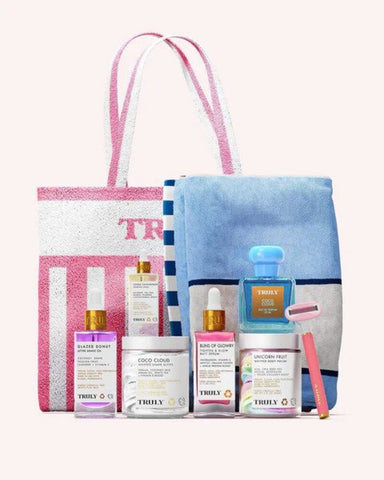
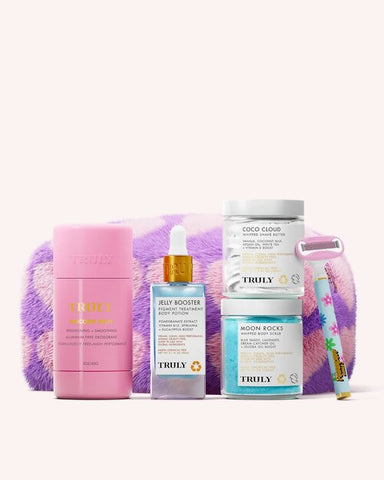
[product handle="coco-cloud,happy-hairless-shave-butter,life-shaver-starter-razor,unicorn-fruit-luxury-shave-butter,soft-serve-whipped-shave-butter" layout="slider"]
Shaving Gel
Shaving gel is a thick, gel-like substance applied to the skin before shaving, creating a protective layer between the razor and your skin for a smooth razor glide.
Pros
• Lubrication: Shave gels reduce friction, allowing the razor to glide smoothly for a clean shave and less chance of razor bumps.
• Transparency and Precision: The transparent nature of many shaving gels makes it easier to see where you’re shaving. This is especially helpful for shaving facial hair or targeting specific areas.
• Hydration: Gels are often packed with moisturizing ingredients that soften the hair and prepare the skin, reducing the risk of skin irritation.
• Smoother Glide: Gels tend to provide a smoother surface for the razor to glide across, which can result in a closer shave with fewer passes and ultimately less bumps.
Cons
• Can Clog Blades: Some gels can be harder to rinse off your razor and may clog the blades faster, resulting in a bumpier shaving experience.
Shaving Cream
Shaving cream is a foamy product used during shaving to provide a protective barrier between your skin and the razor. It helps ensure a smoother, more comfortable shave and is known for its rich, creamy texture.
Pros
• Cushioning: Creates a thick lather that provides a soft barrier, protecting your skin from irritation and razor burn.
• Hydration: Moisturizes the skin and softens the hair, making it easier to cut for a silky smooth shave.
• Lathering: Whips into a fluffy consistency, which some people find luxurious and enjoyable to use.
• Smoothing: Helps the razor glide effortlessly, reducing the risk of nicks and cuts.
Cons
• Less Precision: The thick lather of some shaving creams can make it harder to see areas like contours or edges, making shaving more difficult.
Is Shaving Gel or Cream Better?
Does shaving gel or cream provide closer shave? Choosing between shaving gel and cream depends on your hair type and shaving needs. Shaving gels are less foamy and produce minimal lather, making them ideal for precise shaving and short hair. Their smooth texture offers excellent lubrication for a smooth, irritation-free shave.
On the other hand, shaving creams work wonders for conditioning and softening the hair, creating a rich, creamy lather that’s perfect for thicker or coarser hair. They also do a great job at preventing nicks, razor burns, and ingrown hairs.
Both have their strengths—pick the one that best suits your skin’s needs.
The Best Option: Shave Butter

While shaving soaps, gels, and creams each have their merits, shave butters are becoming the go-to choice for those seeking the ultimate shaving experience. Shave butters combine the best features of gels and creams while offering unique benefits. Here’s why they’re worth adding to your grooming routine.
1. Ultra-Hydrating: Shave butters are formulated with nourishing ingredients like shea butter, aloe vera, and vitamin E that deeply hydrate the skin, leaving it soft and smooth post-shave.
2. Effortless Glide: Their rich, buttery texture creates an ultra-slick surface for the razor, ensuring a close shave with minimal irritation.
3. Skin-Loving Ingredients: Most shave butters are infused with natural, skin-soothing ingredients that help prevent razor burn and bumps.
4. Precise: With shaving butters, you get the benefits of hydration and transparency all at once. While they’re rich and moisturizing, they offer enough visibility for a super precise shave.
5. Luxurious: The buttery texture and scrumptious scents make shaving feel like a total pampering session.
6. Perfect for All Skin Types: Whether you’ve got dry skin or sensitive skin, shave butters benefit all skin types thanks to their hydrating, soothing properties.
What’s the Best Shaving Cream?
While shaving foams, creams, and gels are all great at getting the job done, shave butters are the real game-changers in a shave routine. Here are the best ones.
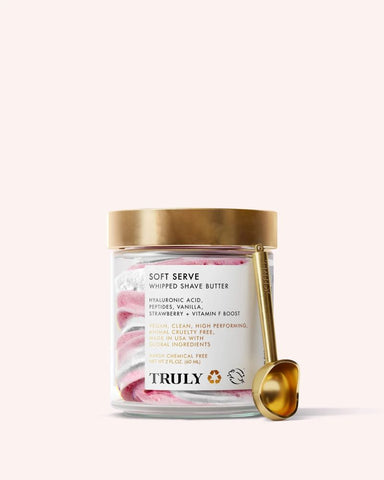
Best for Sensitive Skin
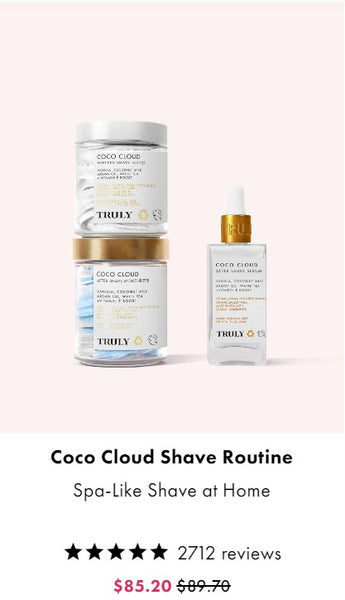
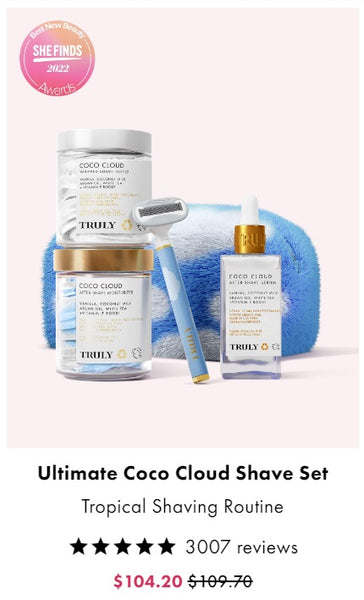
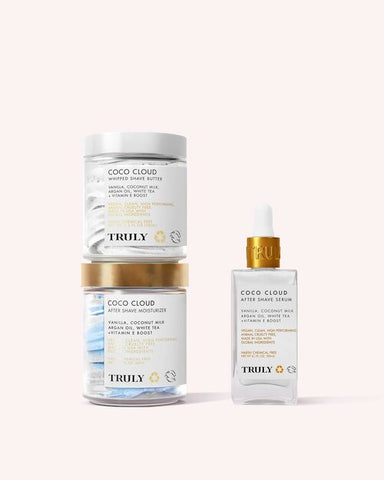
[product handle="coco-cloud" layout="single"]
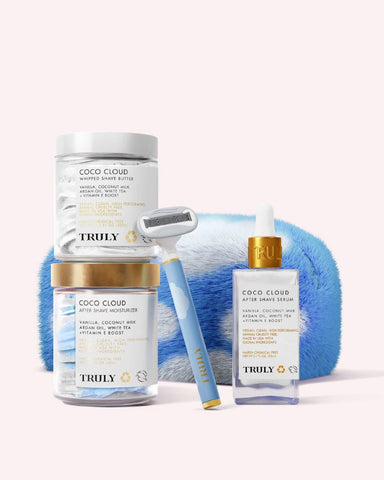
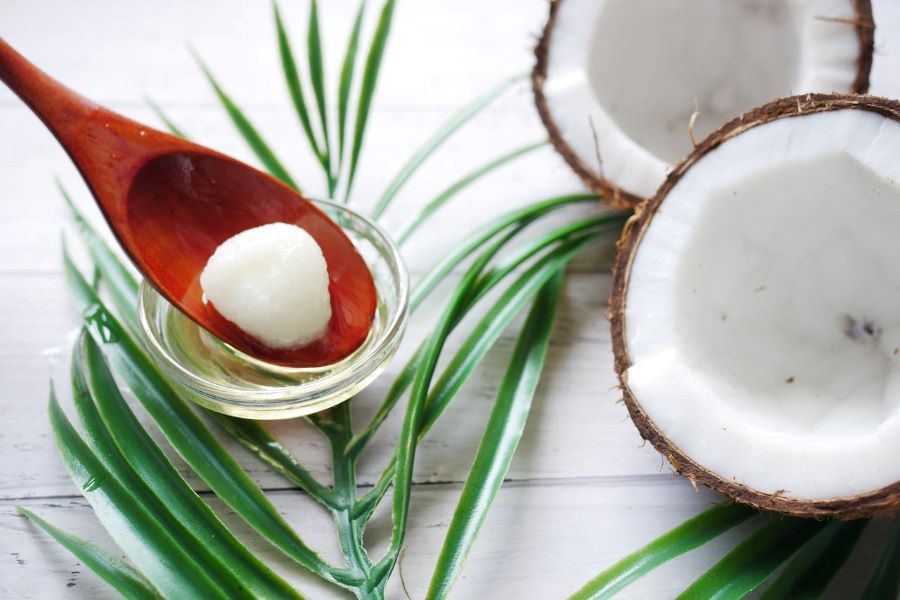
This award-winning shave butter will transport you straight to Hawaii with its creamy coconut and warm vanilla scent. Besides smelling incredible, Coco Cloud coats skin in a luxe lather of coconut milk, argan oil, and vitamin E to maximize razor glide and prevent redness and razor bumps for the shave of your dreams.
Best for Dry Skin
[product handle="glazed-donut-whipped-shave-butter" layout="single"]
If shaving leaves you dry and itchy, switch your shave cream for this decadent shave butter. Ultra rich and hydrating, it softens hair for maximum glide and creates a buttery moisture barrier to protect against razor burn and bumps. Packed with hyaluronic acid and niacinamide, it’ll diminish dryness while leaving your skin looking luminous.
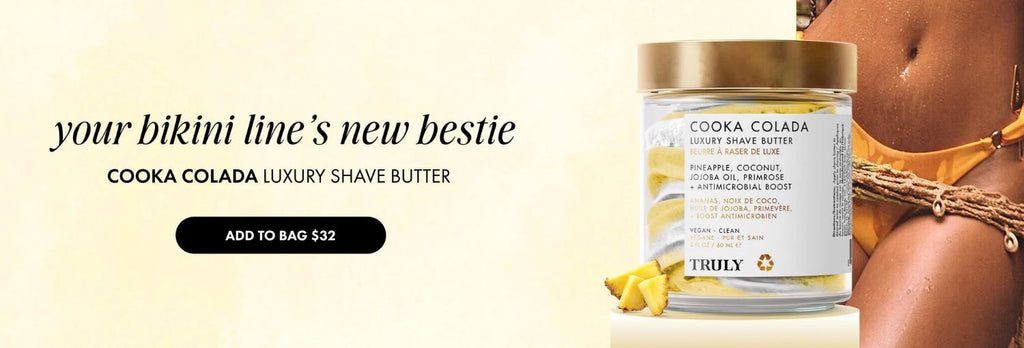
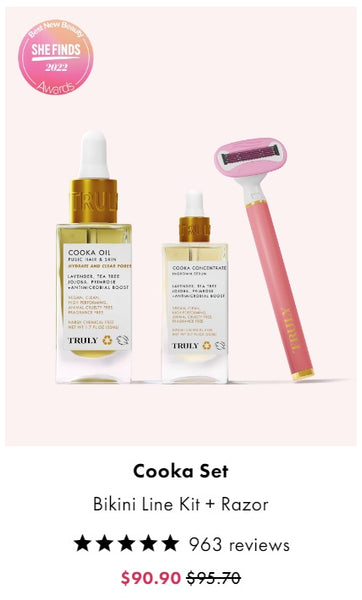
Best for Bikini Line
[product handle="cooka-colada-luxury-shave-butter" layout="single"]
For the sleekest bikini line ever, grab yourself a jar of this pineapple-packed shave butter. With its blend of jojoba oil, pineapple, and coconut, Cooka Colada creates a comfy barrier to ward off cuts, ingrowns, and razor burn on the bikini line.
Best for All Over
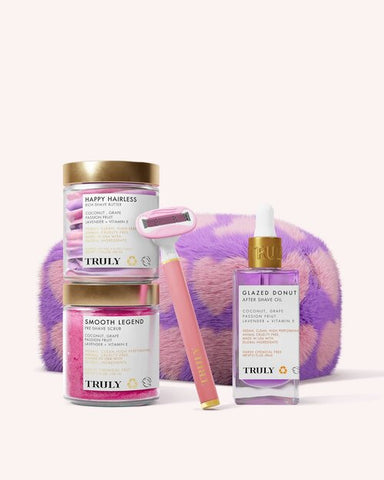
[product handle="happy-hairless-shave-butter" layout="single"]
From your armpits to your legs, Happy Hairless Shave Butter delivers a silky smooth shave every time. It contains a hydrating blend of coconut, grape, and passion fruit alongside antibacterial lavender for a close, smooth shave minus bumps and burns.
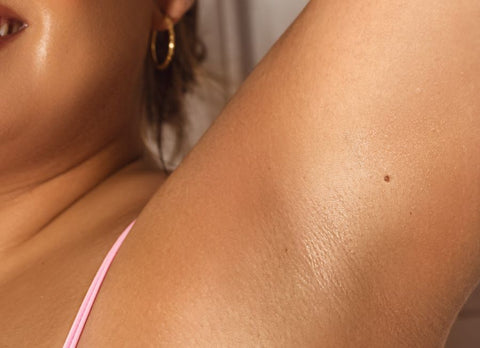
Does shaving gel or cream provide closer shave? Ultimately, the choice boils down to personal preference and skin type. If you’re after precision and have sensitive skin, gel might be your best bet. If you have dry skin or you love the classic feel of creamy lather, shaving cream is a great choice.
However, if you’re looking for the ultimate shave, shave butters might just take the crown. Their luxurious, creamy texture offers superior hydration, effortless glide, and a soothing post-shave feel, making them the best choice for a close, irritation-free shave.
Whether you’re team gel, cream, or butter, the right product can elevate your shaving routine and leave your skin smooth, soft, and perfectly pampered!
]]>