At Home Mani-Pedi, By Truly
At-home manicures and pedicures aren't just a way to save money.
They're a great way to indulge in some much-deserved self-care. They're also the perfect excuse to invite over some friends and get in touch with your girly self once more.
Besides the personal satisfaction of painting your own nails, experts say DIY manicures and pedicures have therapeutic benefits.
"I often recommend that clients include painting their nails as one of many helpful coping skills," says Greta Angert, a Los Angeles–based licensed psychotherapist specializing in anxiety. "Sitting down to paint your nails is a simple gesture that tells you 'I'm worth it,' 'I deserve this.'"
And believe us, you really do!
To help you nail your at-home mani, we've put together a simple mani-pedi routine using some Truly Beauty essentials to soothe dry skin, soften cuticles, and exfoliate away calluses.
Step 1: Cleanse Your Nails
To get a great manicure and pedicure at home, spend a little time prepping your natural nails so they're in good shape before you start.
That means cleansing them using a purifying cleanser like Truly's CBD Jelly Anti-Blemish Cleanser. It's formulated with salicylic acid, vitamin A, and CBD to clear your skin and nails of dirt, oil, dead skin cells, and grime.
For your feet, fill a bowl with warm water, squeeze in a little CBD cleanser, and let your feet soak for several minutes. This is an excellent way to soften the cuticles and hard skin on your footsies.
Step 2: Clip, File, Buff
Using clean, dry nail clippers, clip the nails on your hands and feet if needed.
Then file gently with a nail file, moving in one direction to make your tips round or square -- depending on your preference.
Finally, buff the tops and sides of your nails with a nail buffer to remove any residue from the nails and create a smooth, shiny surface, ideal for applying nail polish.
Step 3: Moisturize Your Cuticles
Hydrate the cuticles before pushing them back, as cuticles tend to get dry and are prone to peeling. By moisturizing them before pushing them back, you make the job easier and prevent them from drying out.
Start by applying a thin layer of cuticle oil to the cuticles, fingernails, and toenails, massaging it in nicely. You can also apply it with a cotton ball or cotton pad if you don't want to get your fingers oily.
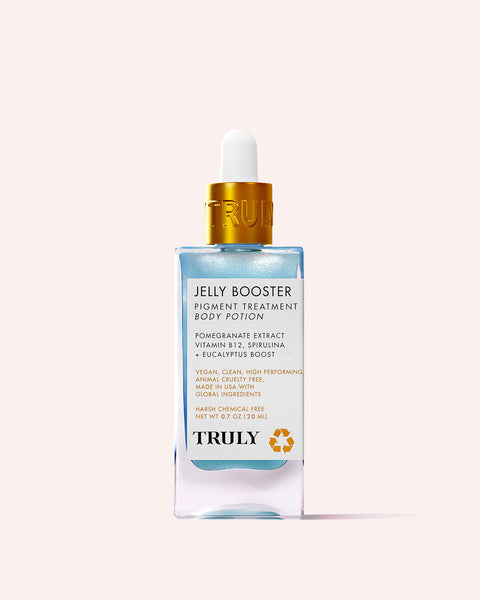
Our Vegan Collagen Serum is the perfect pick for a cuticle and nail bed moisturizer. Its hydrating, antioxidant-pumped formula of vegan collagen, retinol, vitamin C, and coconut oil means your paws are in for a treat!
Some people also use olive oil as a cuticle softener, so feel free to try that if you have nothing else.
Step 4: Push Back Your Cuticles
Start by using a cuticle remover to help remove dead skin and soften the area.
Then push back the cuticles gently with a cuticle pusher. A word of advice: your cuticles maintain nail softness and protect them nails from bacteria, so avoid cutting them.
If you're not sure how to do it (and that goes for any of the steps here), you can also watch a tutorial on YouTube to see how it's done.
Step 5: Exfoliate
Exfoliate your hands, wrists, and feet with a scrub that removes dead skin cells and replenishes moisture.
Buffing your skin can also quell calluses.
Calluses occur when an area of skin is subjected to constant friction, causing the skin to thicken in its defence. Exfoliation eliminates dead skin, reducing the appearance of calluses and enabling other skincare products like moisturizers and oils to penetrate more effectively.
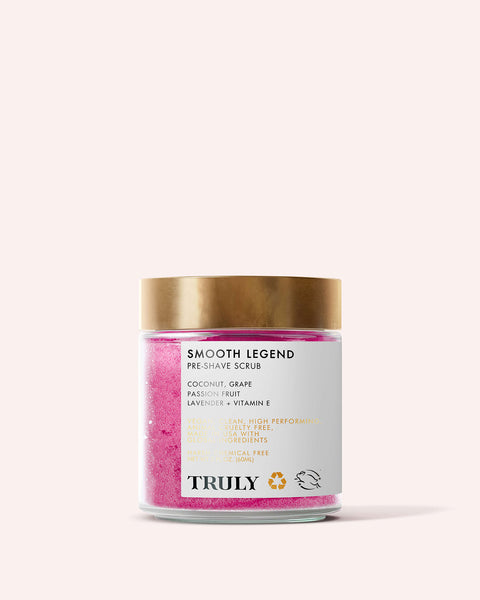
Try Truly's Blueberry Kush CBD Body Scrub which uses sugar, coconut oil, blueberries, and collagen to slough away dead skin cells, draw out impurities, and soothe inflamed skin.
Then follow up with a foot file to get rid of any additional dry skin.
Step 6: Moisturize Your Hands and Feet
Now it's lotion time!
A luxe alternative to hand cream and foot cream that's also perfect for cuticle hydration: Truly's Unicorn Fruit Whipped Body Butter.
It's buttery, deeply conditioning, and oh yeah, it smells super sweet like candy! Any manicurist would approve.
Take the opportunity to treat yourself to a mini hand and foot massage to help you wind down and truly enjoy the experience -- as if you were at your local spa.
Once you're finished, swipe each nail with nail polish remover to remove any residue.
Step 7: Start Painting
Now for the fun and creative part!
Apply a base coat to hydrate, protect & prevent nail chipping. According to nail guru Essie Weingarten, founder of Essie, you should wait two full minutes between each coat.
Next, brush on a coat of your nail color of choice, making sure you go all the way down to the cuticles and into the corners for maximum coverage.
The best technique for applying polish color, according to the experts, is striping your nail three times: once down the middle and then on each side.
Avoid applying too much at once. It's best to apply thin layers and build up the color from there.
Feel free to add nail art if you want to get really creative.
Step 8: Apply Topcoat
Some women overlook this step, but topcoats are crucial for protecting your mani-pedi from chipping. They also add shine to nails and extend the lifespan of your work of art.
To achieve a nail salon-worthy mani-pedi, follow that up with a separate shine enhancer for a pretty, glossy finish.
Step 9: Clean Up and Lotion Up (Yes, Again)
Tidy up any wobbly edges using a cotton ball soaked in acetone nail polish remover around the end of your cuticle stick.
Wash and dry your hands, then slather on a generous layer of lotion once more to seal in moisture all day long and get those silky soft hands and feet you long for.
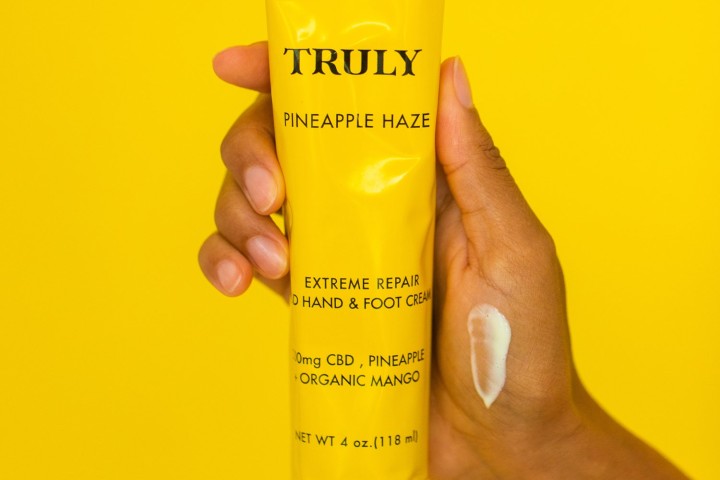
For intense hydration, try Truly's Pineapple Haze Extreme Repair CBD Hand and Foot Cream.